

Applying Characters, along with their motion capture, within a scene sequence they belong to and syncing the movements of each character to each other. Getting that dance or fight to land right is what’s happening here. The interaction with each other, or in the case of solo scenes, simply the best take for the intention.
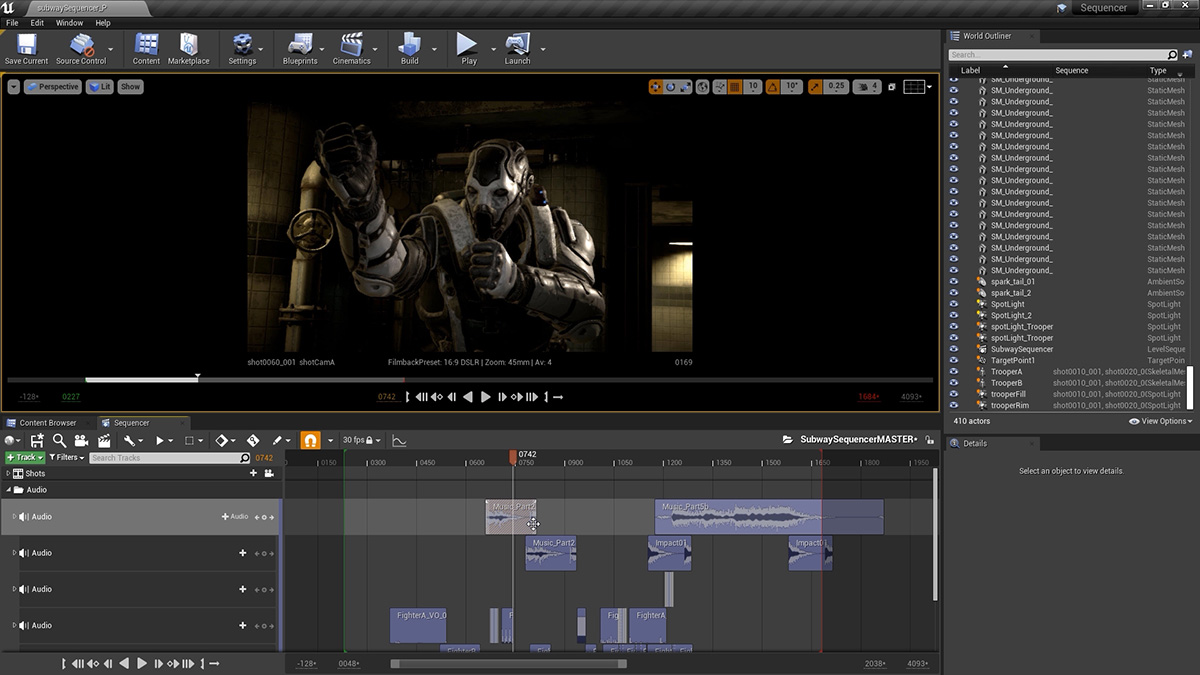
Here you apply the soundtrack used during motion capture to your sequence so that dialog and sound effects are sync’d to one another. As it did during the capture session, this soundtrack helps drive the scene. Here too, as other elements are visualized in-engine, more sound effects can be added – each one serving to inform the filmmaker where the camera should be pointing and when.

Using the prototype software ‘JetSet’ we can transfer our scenes to an iphone where it can be ‘filmed’, handheld, as though the operator was standing in the scene. JetSet is able to animate metahumans within your scene, along with that audio track, and you can shoot using the hands on physicality in the language that has been developed since the beginning of the film industry.

This is the process of importing the handheld shots collected via Jetset. Applying the data recorded from a capture session to cameras and syncing them so that can be used in the edit track.
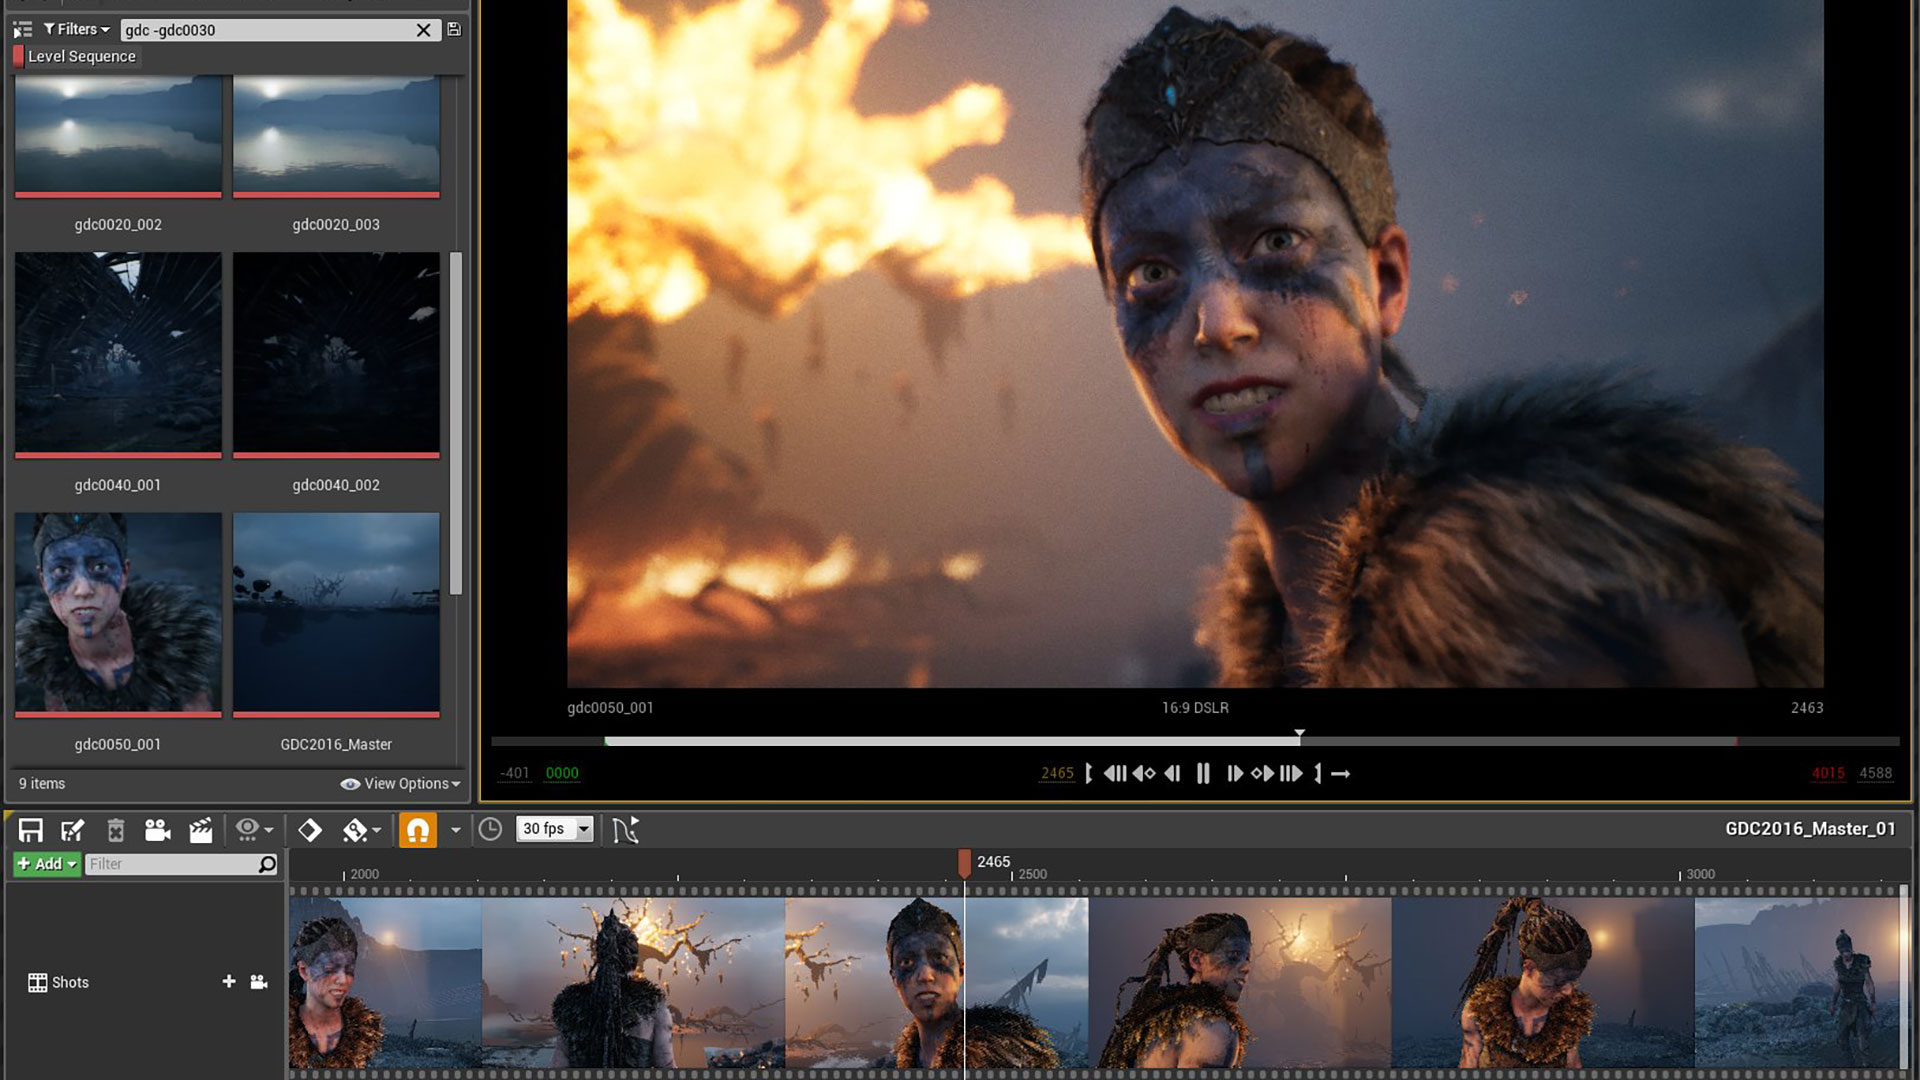
This is ‘linear’ editing of the camera tracks, per scene, within the sequencer of the scene. Just like a non-linear edit track, shots are chosen to best visually present the scene. In this case, though, the cameras are all in play and the edits jump between the cameras. It is akin to editing a live concert or sporting event.

This is the last render – where a scene based on its edit list will be exported. Over the course of the film, several exports will have been made, scene to scene, possibly half resolution (to save time) as adjustments could be made as required. The final renders will be full resolution and can be an extremely time consuming process, especially if path tracing has been chosen as the delivery look.

Path tracing is an extremely processor intensive rendering routine that produces very realistic results due to the way light is bouced. If this method is desired then a render farm and networking render solution must be executed on. Updates in the Engine are improving the speed of each rendered frame but presently, it can still be prohibitive.

The project moves from Unreal to a traditional edit suite. This allows more audio work, effects, coloring and music work to be done. Our preference is Davinci but Premiere and other non-linear editors are at the user’s discretion. Because exporting is usually done as png sequences, the first task here is to import each scene and match it to its audio track.

Some/most editing would be done in Unreal, assuming a multi camera output hasn’t been decided on – but a cleanup edit (removal of bad frames, time jumping) would be done in Davinci or other post editing software. Your scenes will now run in realtime at their full/final resolution as opposed to Unreal’s close-to-real-time proxy. This is when you really see your movie come together!