Making an Unreal Movie
- Home
- Making an Unreal Movie
Below are general categories that you must observe when making a film in Unreal Engine. We are focusing on films made featuring entirely engine-generated content as opposed to green screen and composited actors, though we will likely feature that pipeline in the future.
The “READ MORE” links are not active yet until video tutorials can be made. Ignore them for now until we post updates as they become available.
Good luck and have fun!

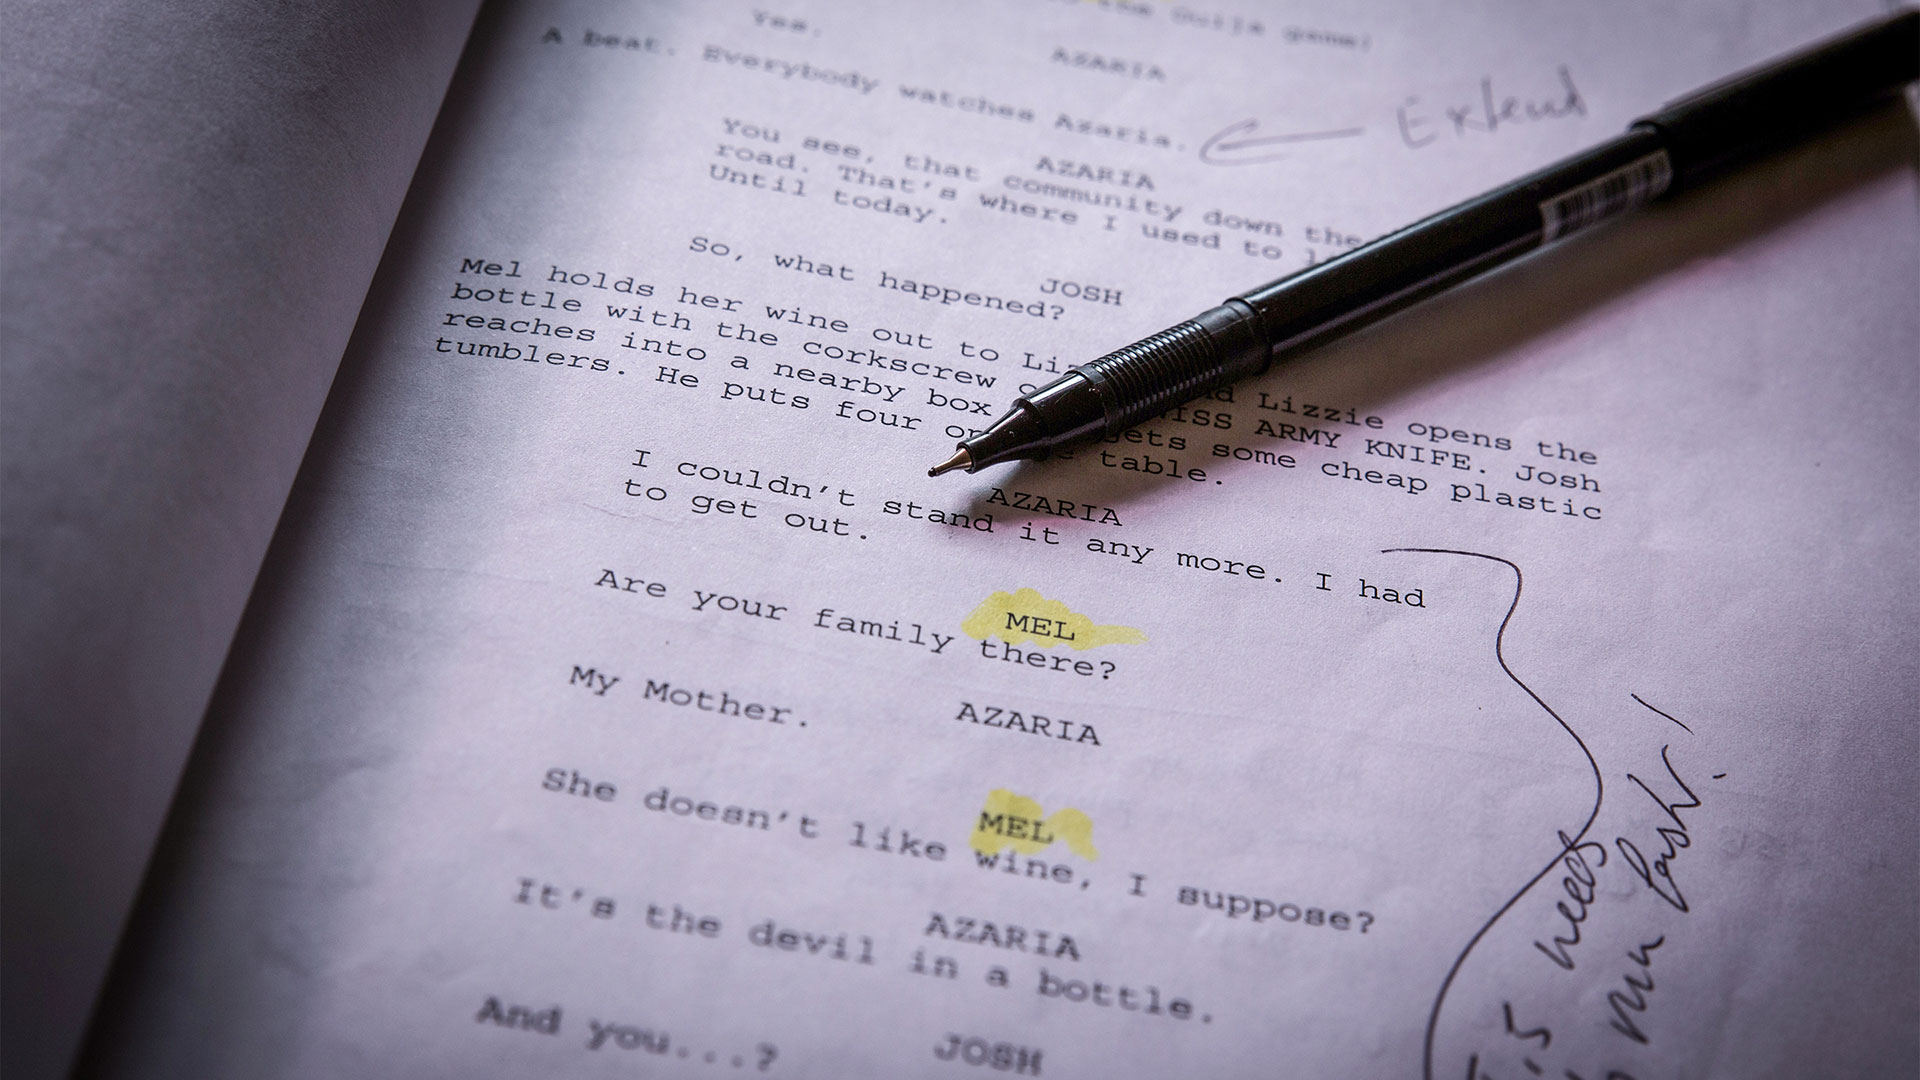
Knowing what your goal is ahead of time is very important in this type of filmmaking. That said, when making an Unreal Engine movie, things like changing dialog, movements, lighting, camera are all possible and in some cases very easy. Remember that too many choices can be its own trap. Try to lock down your script before going further.
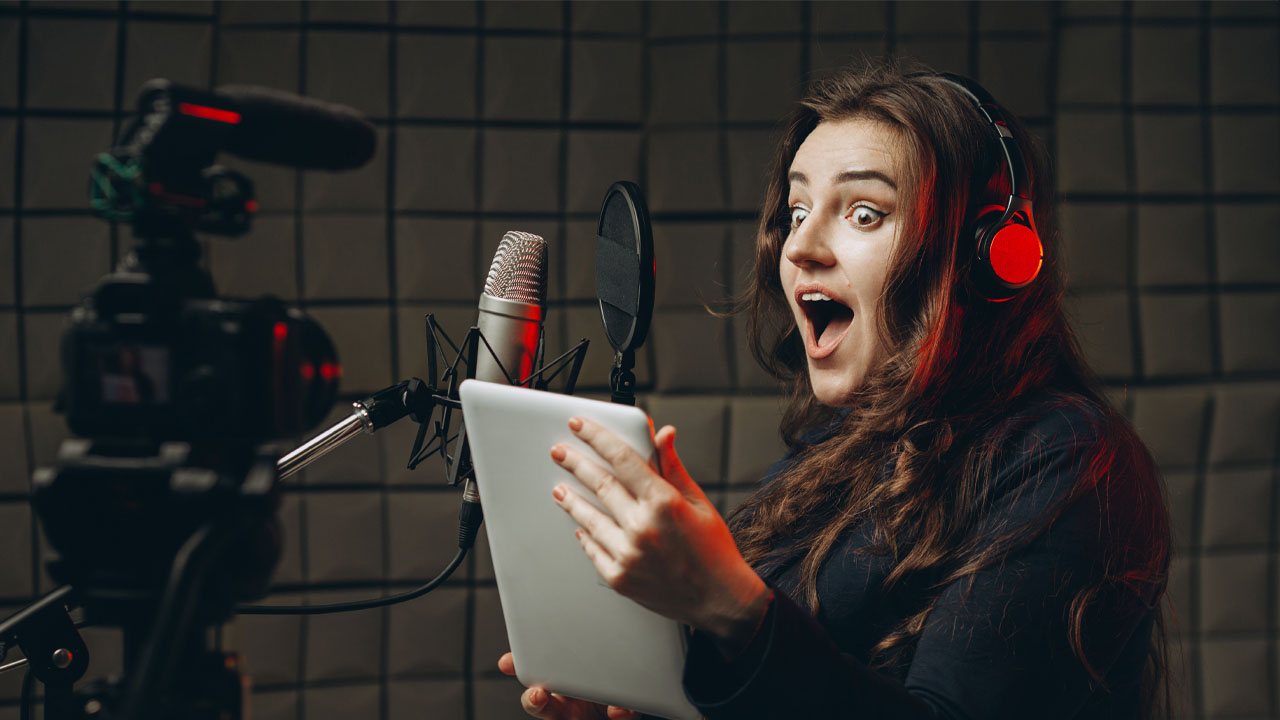
When working on a fully CG movie in the Unreal Engine, we follow a production path of animated movies, and that means capturing your vocal performances first. This is where you can understand if your scenes are working dramatically and, if necessary, make adjustments in this safe, relatively inexpensive stage.
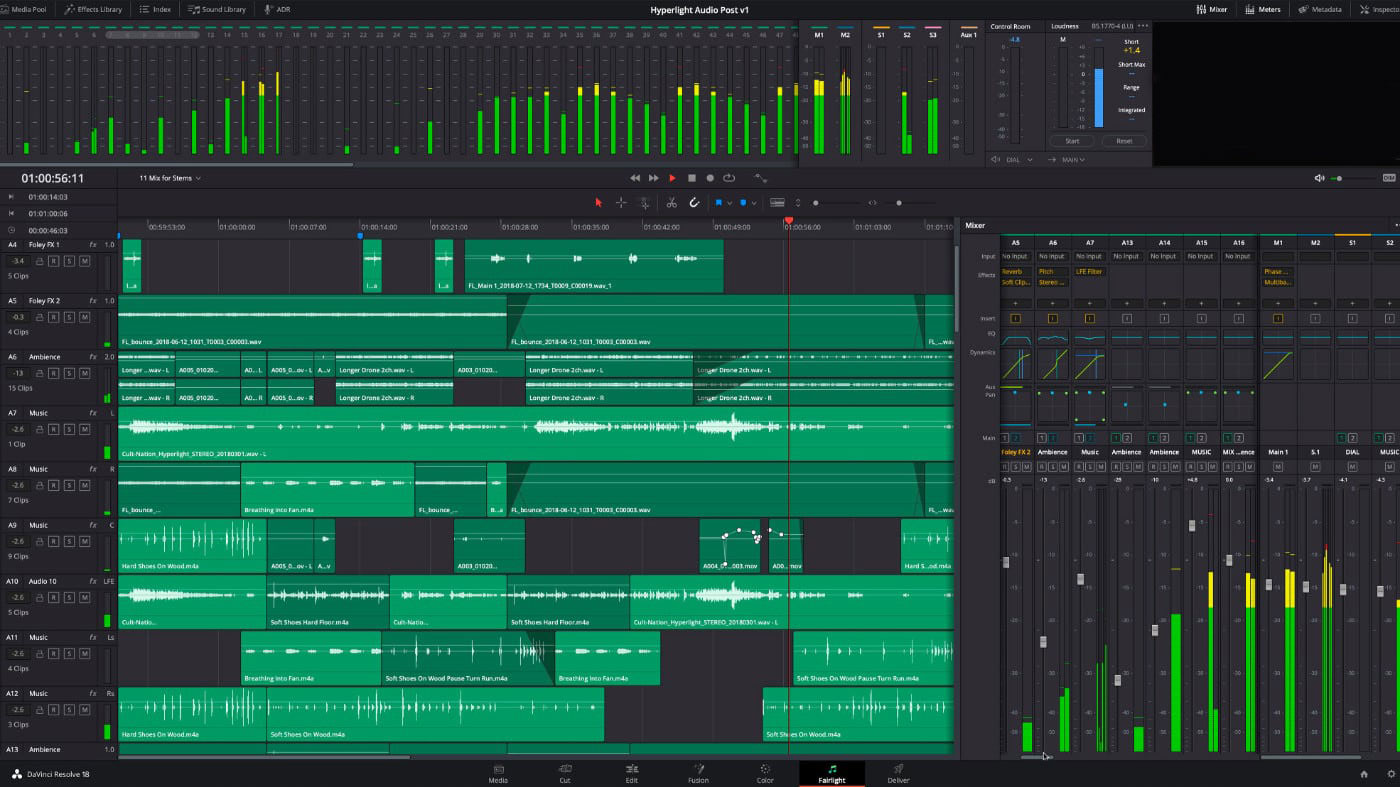
Simply assemble the best of the best. You have a chance to craft the finest performance even if you got it in bits and pieces on the day. Video editors often stuggle with needing to get the best vocal performance ALONG with the best visual performance. Here, all you need to worry about is does it SOUND like it’s telling the tale and evoking emotion.
A soundtrack will guide pace and sound effects will give motion capture actors something to react to when they’re on the capture stage. The KAPOW! of a shotgun will get your actors hitting ‘the dirt’! Nothing at this stage is final, as it can be changed later, but your goal here is to make as accurate a guide of each scene length as possible.

Here you are preparing files for motion capture use. It is a good idea to fill these recordings with short audio cues like, “Move to table and pour a drink”, or short countdowns to dialog if there are long pauses; Anything that helps your actors hit their marks and not wonder what they’re doing next. If you’re an indie, you may not have had the luxury to rehearse as much as you’d like, so these cues will give you the best chance of a successful capture with fewer takes.
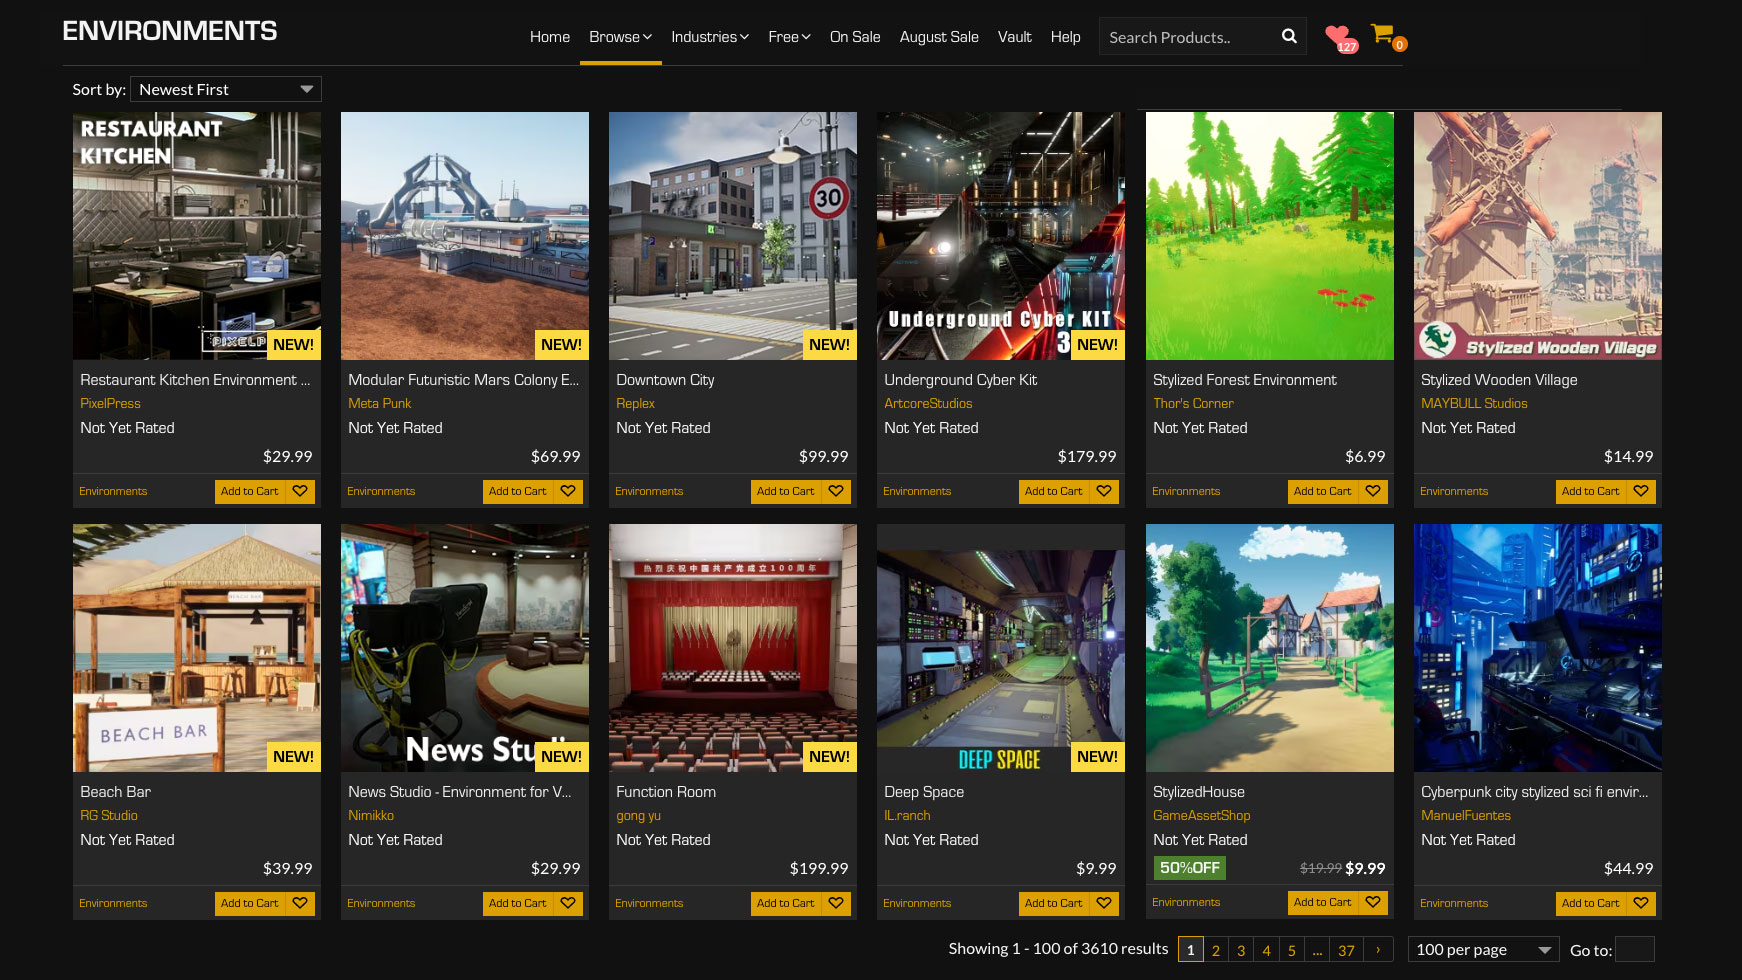
Many great affordable ‘locations’ and environments can be found online from numerous sources. This is always the place to start in terms of setting your scene. Remember that often a bought asset is just the starting point and all 3D objects can be re-textured and adjusted to fit the specifics of your scene.
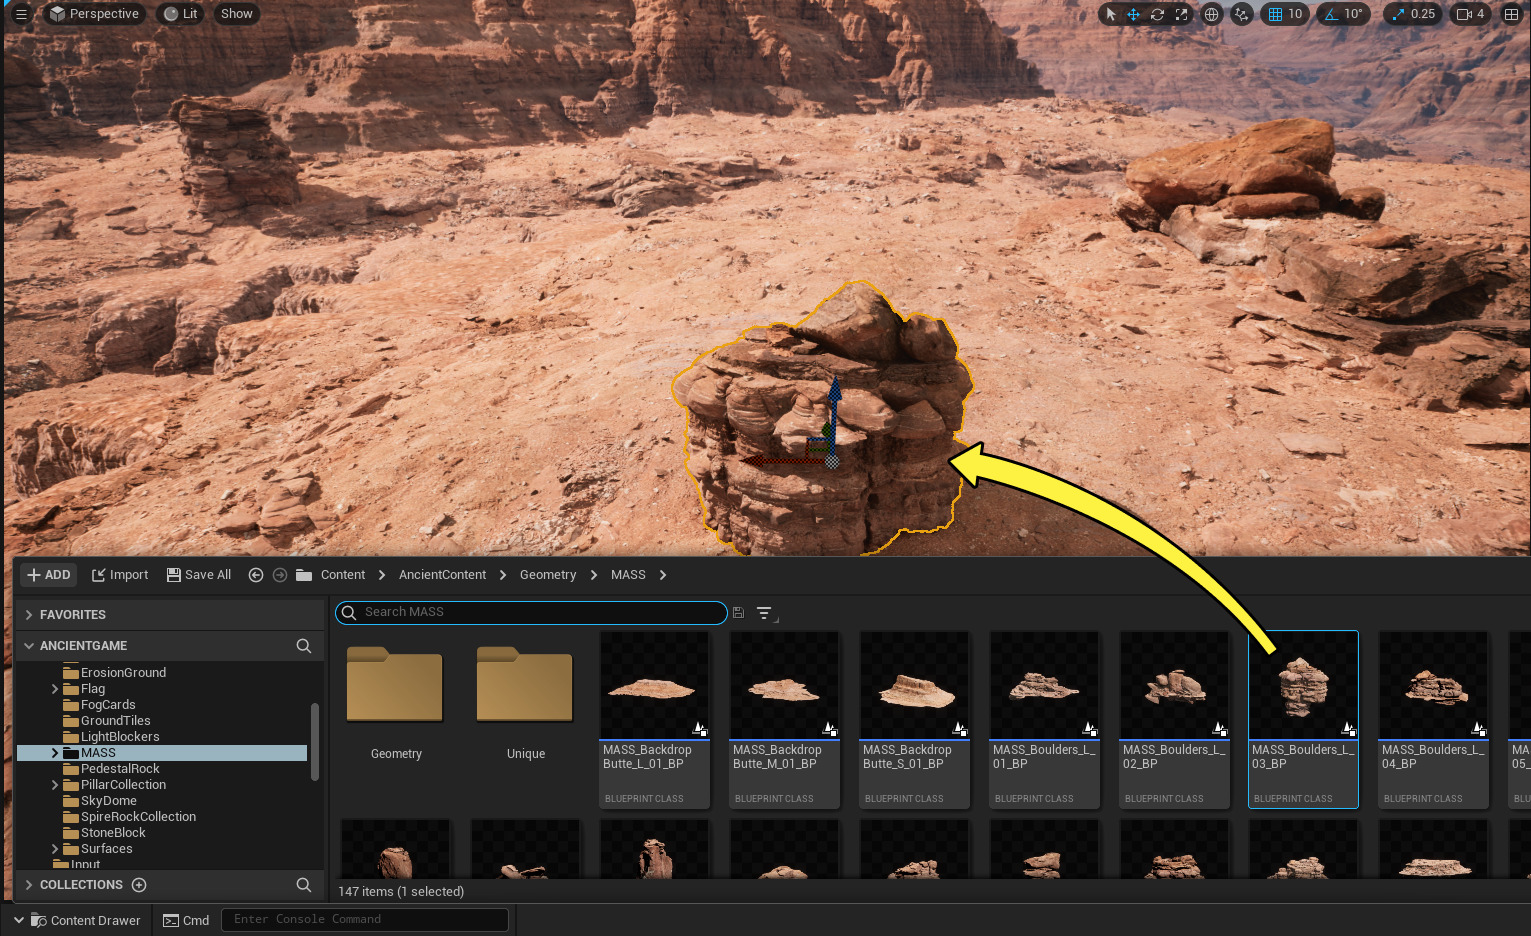
To ‘Kitbash’ means starting with pre-made environments but then moving walls and props to suit your scenes’ needs and incorporating any props that may be required but didn’t come in the environment. Any amount of mix and match is acceptable to set your scene. There is a lot of freedom here as you can move huge props with a click and completely re-imagine a space quickly and easily.
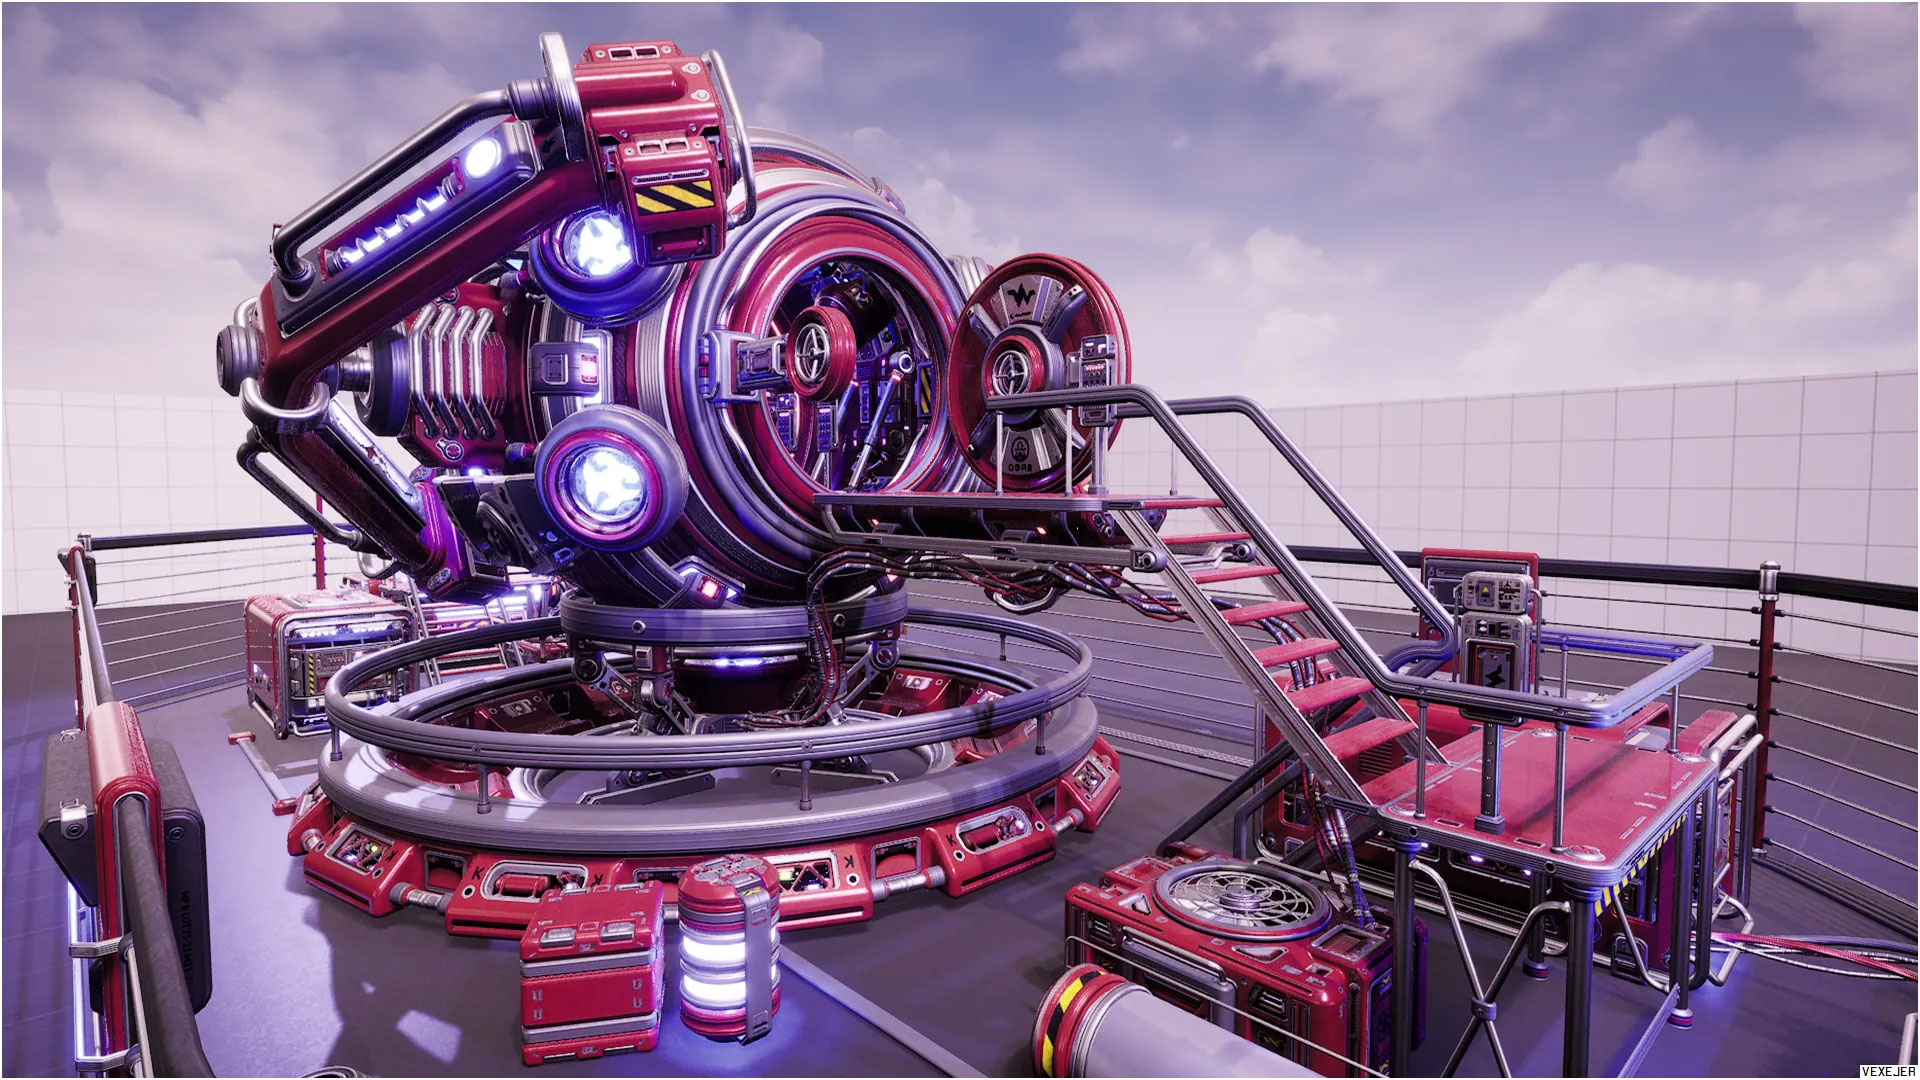
There may be props you need that just aren’t available on a marketplace or require specific customization. For something wholly unique to your film, like that never-before-seen time machine, we call in a 3D specialist. While you’re unlikely to make a custom coffee cup, certain memorable one-of-a-kind creations might help your film be memorable.
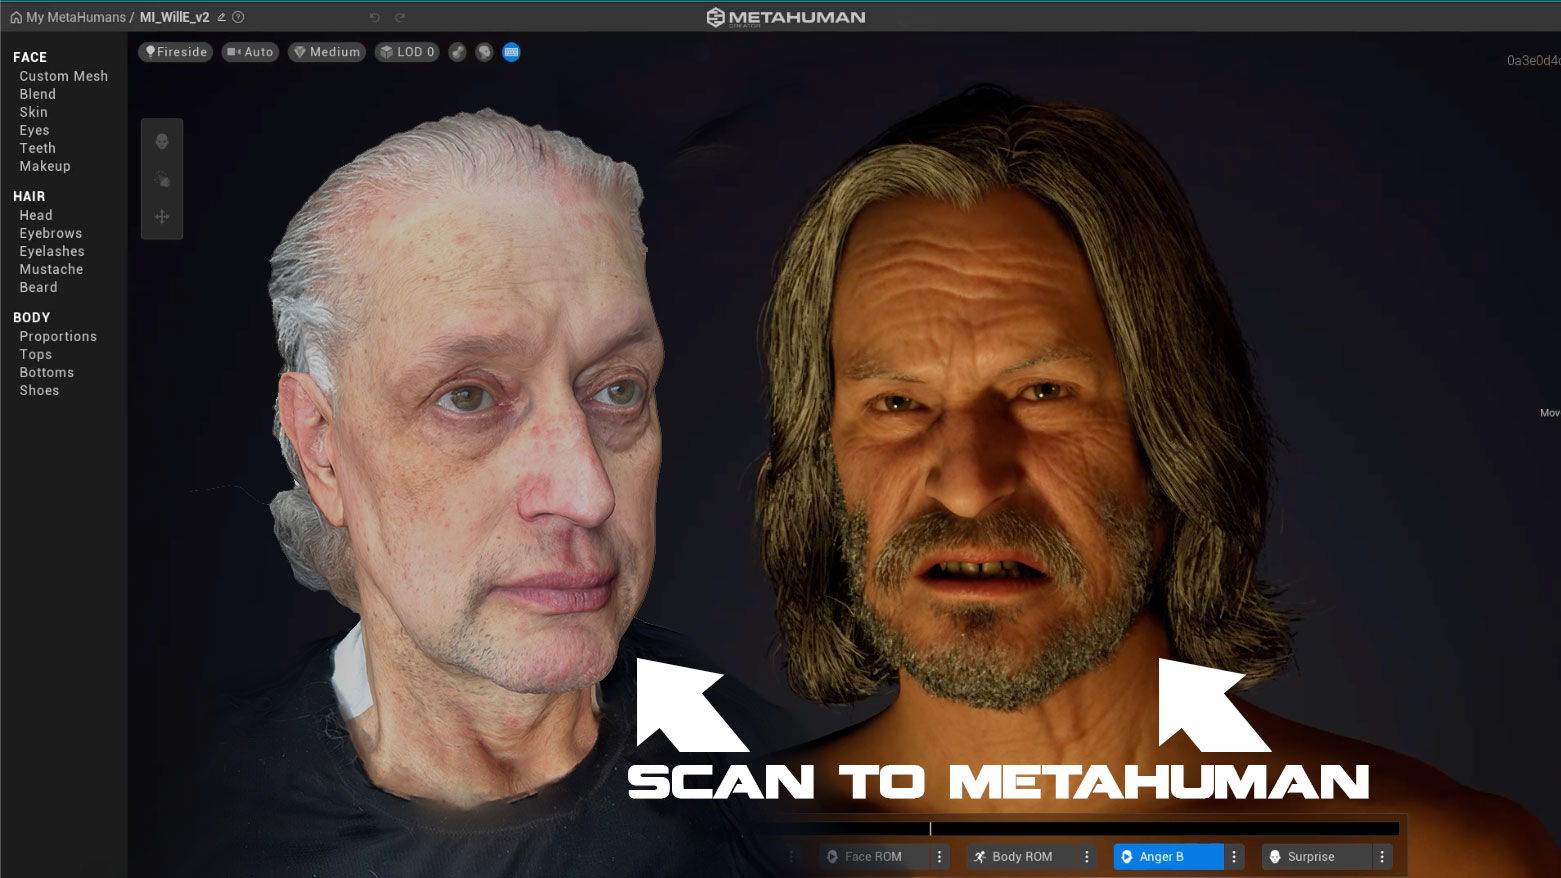
This is scanning of a human (if based of a real human actor) or the sculpting of a human if based off someone original or unattainable (dead?). Scan or scuplt is then prepared in 3D program (hair removed? sized) for the mesh-to-metahuman process. Next, the actor is pushed to the metahuman customizer to add skin, hair, eye color, etc.

